Raycus 30W to JPT 30W MOPA UPGRADE

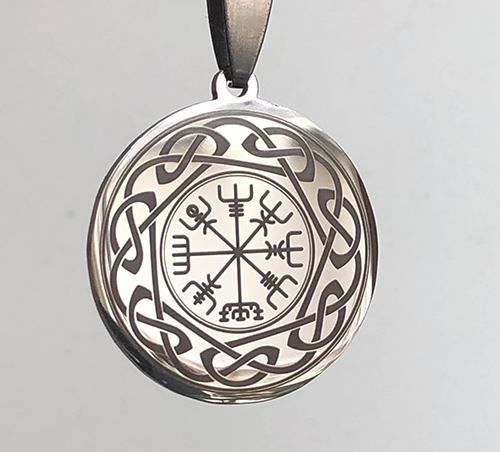
I have always wanted to do good colors on stainless steel and titanium. But the cost of a MOPA laser,
was pretty high when I was searching for a fiber laser machine. So I did ordering a 30W raycus fiberlaser instead.
So after some years, I still wanted a MOPA laser. I really want to do those colors on stainless steel.
I know this would boost my sales on stainless steel pedants.
Anyway, I did order a JPT 30W MOPA M7 from Pascal Liu on facebook. (trough alibaba)
After 10 days I receive wounderfull JPT mopa on my door.
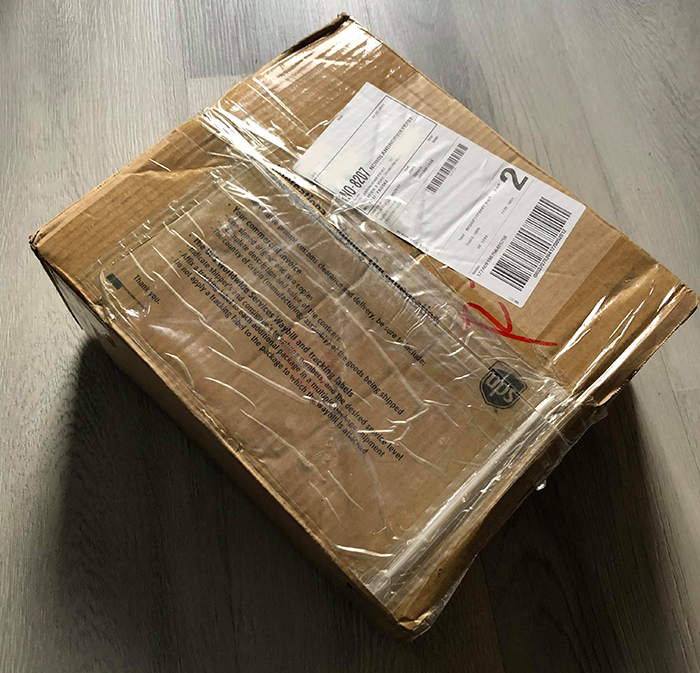
I was thinking, this can´t be right. This package is so small!!My raycus source is big grey box. Something is wrong here..
I open it and here it is..I was so happy..

I said : so tiny. (Well, my girlfriend says: size doesn’t matter, it is how you use it.. haha)
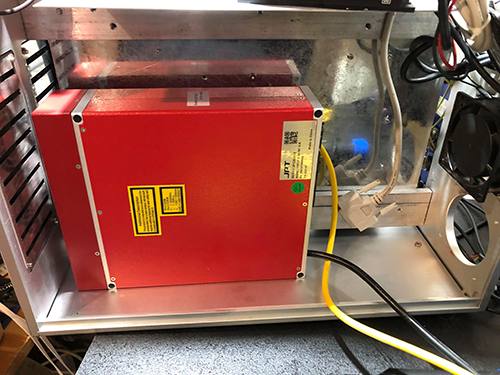
Anyway.. I have open my case and this it how it looks.
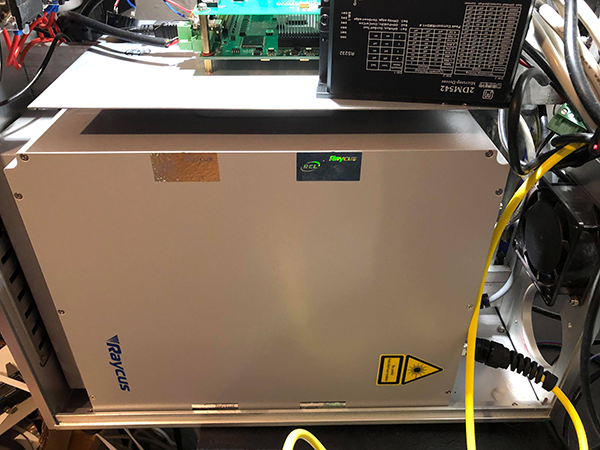
The gray big box is the 30W Raycus fiber laser generator. It was screwed on with 4 screws. Removed the screws.
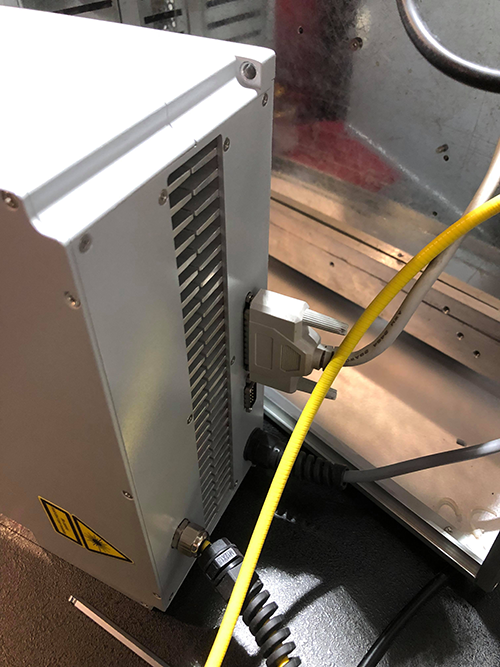
Removed the cable from the controller
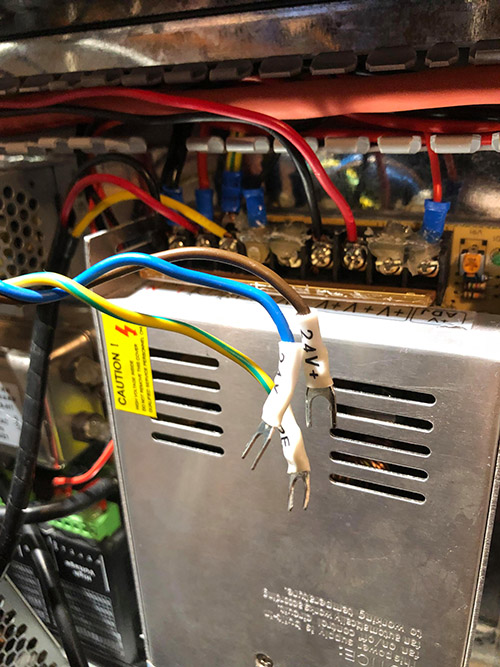
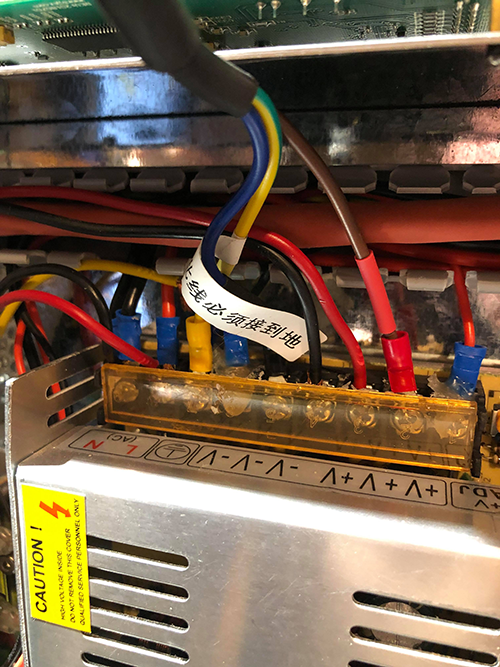
Power cable. It is connected to a 24V powersupply. And my JPT source need a 24V PSU,
so I dont need to change this.
If I did go for a bigger source like 60W, I would need to replace the PSU also.
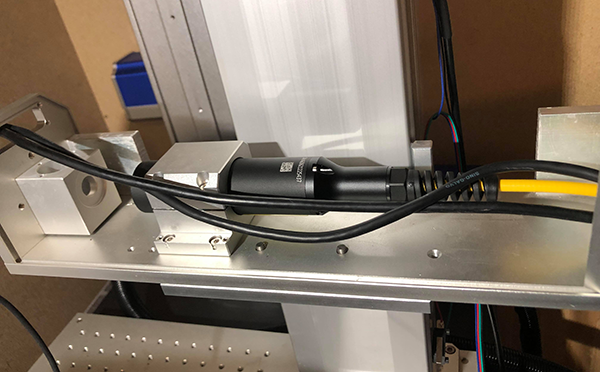
Lightpath
Now I had to loosen the screws on the lightpath and remove the casing.
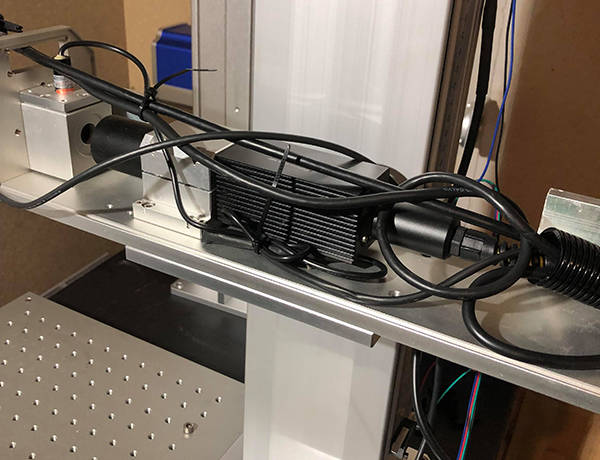
Here is the inside of the lightpath. Raycus head and laserpointer for preview.
Be carefull when removing the protective tube on the cables.
Dont bend the yellow cable, inside it is a optic cable that is fragile.
Breake this cable, your source need replacement. Again, be careful!
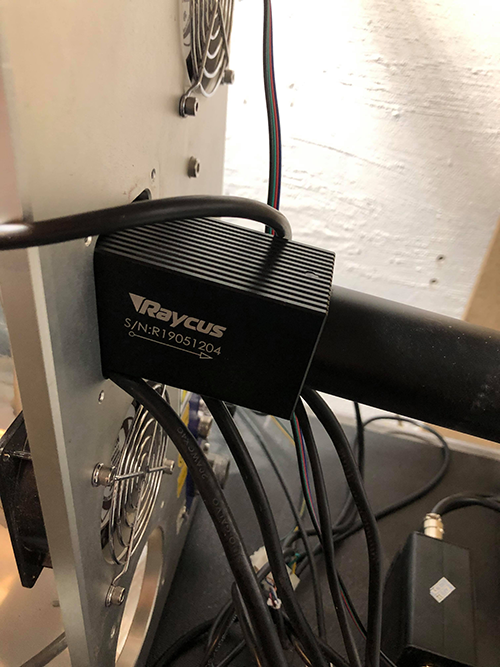
Carfully remove the head trough the case
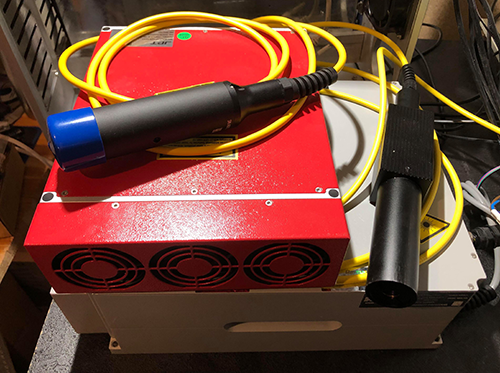
Both source. Top 30W JPT MOPA and bottom 30W Raycus.
look how tiny....forget it hehe..
Now we do the same procedure as we removed the source and head, just only backwards.
Installed head
Removed the laserpointer from lightpath sice my JPT has build in laser pointer.
Connect the db24 cable to controller.
Connect power wires to PSU.
Installation is done!! Maby 25 min to install this beauty.
Ezcad software
I need to change the fiber laser source from Raycus to JPT
EZcad 2
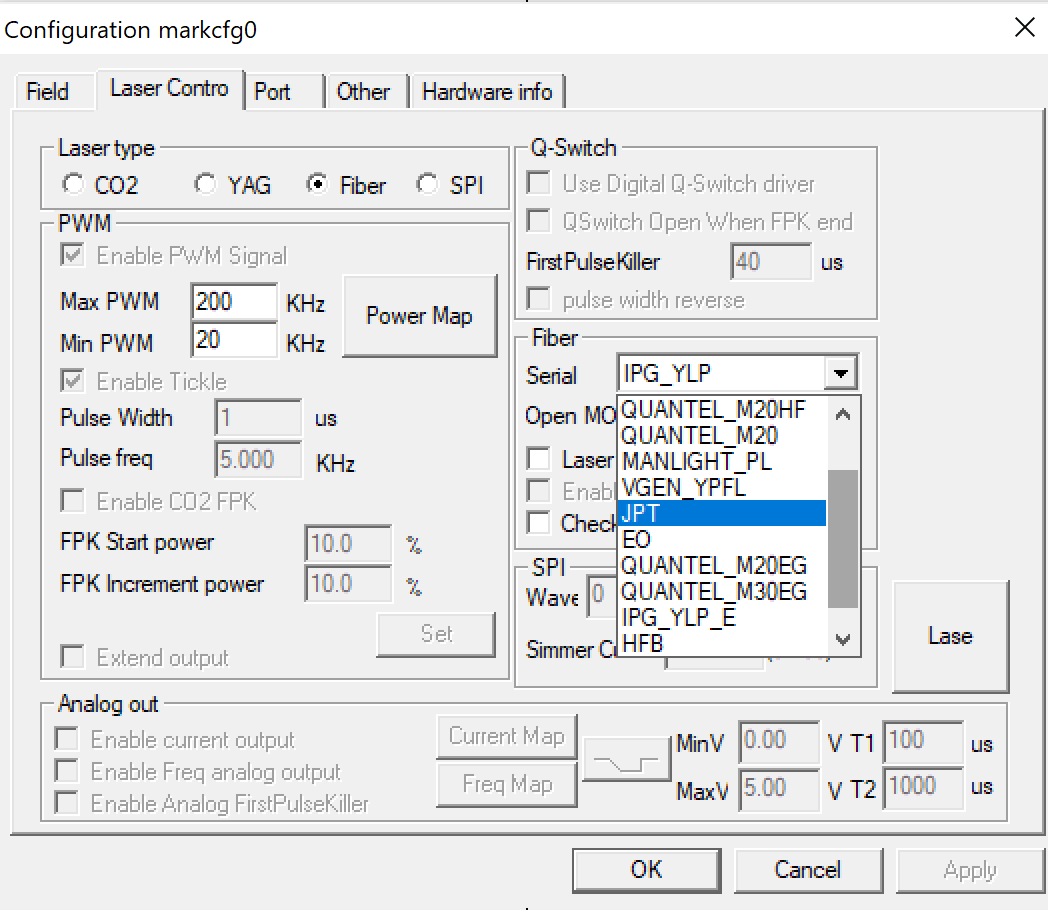
Press F3 in ezcad and go to Laser Contro,(Not a typo) Under fiber, you find "serial" you will see your laser source.
in my case it is RAYCUS. Click here, and choose JPT from the list and press "OK"
EZcad 3
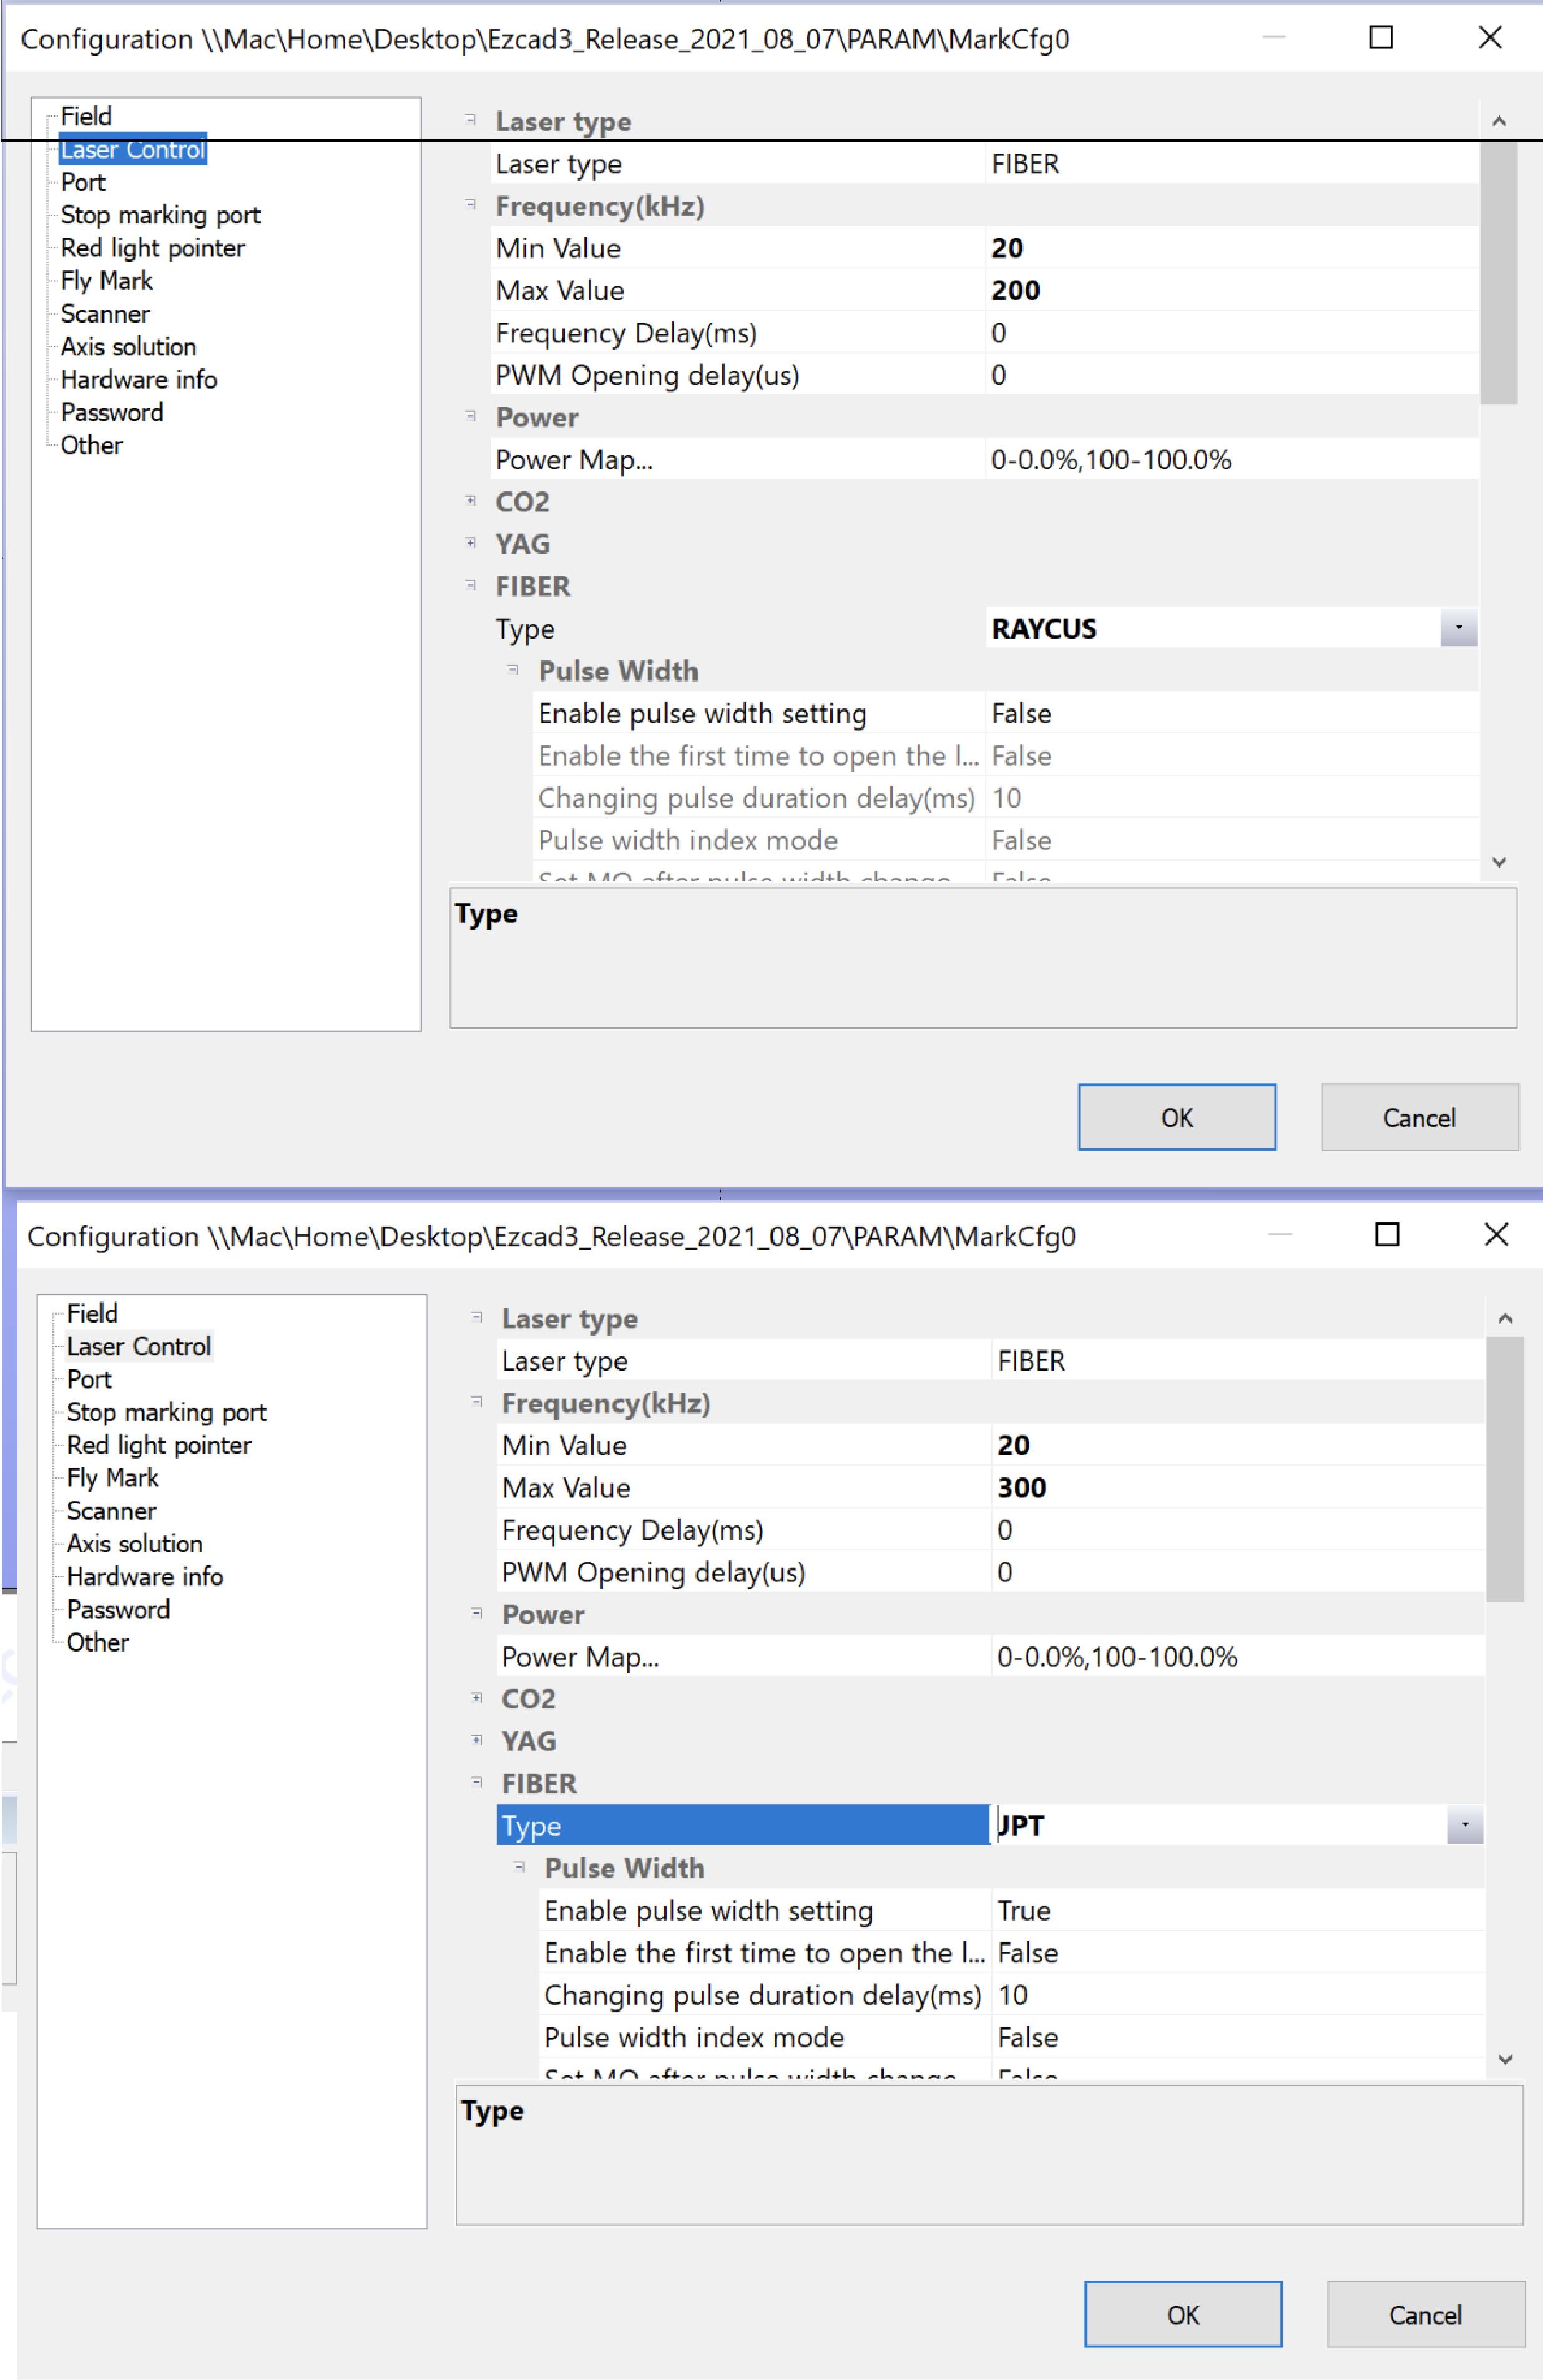
Press F3 in ezcad and go to Laser Control, In "Type" you will see your laser source.
in my case it is RAYCUS. Click here, and choose JPT from the list and press "OK"
You are all set now and ready to engrave.
MY FIRST ENGRAVING
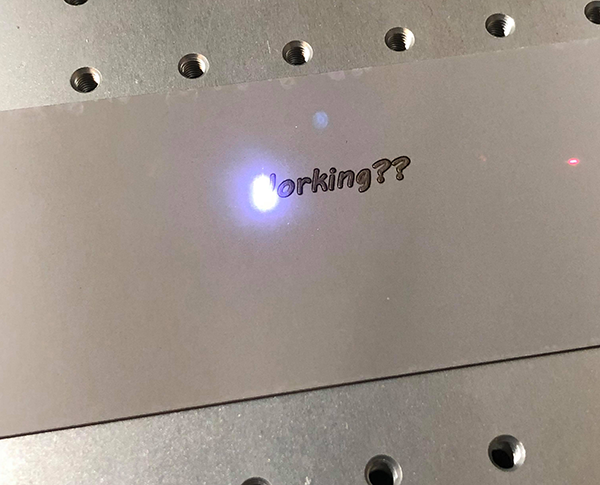
Will update later with colors test etc..
I need time to play :D